

In Brief: How Do You Sharpen Mower Blades?
To sharpen a mower blade, you first need to remove it from the lawn mower. Attach the mower blade to a vice to hold it steady, and sharpen it using a hand file or sharpening drill attachment. Once it’s sharpened, put it on a blade balancer to ensure it’s even. Reinstall the blade on the mower and bolt it tightly.
Are you having more difficulty mowing thick grass? Is your grass turning brown or generally looking unhealthy after you mow? You may need to sharpen your mower blade.
Mower blade maintenance helps you extend the useful life of your mower and get better results when you’re using it. By learning how to sharpen mower blades, you’ll get the best out of your lawn mower year after year.
How to Sharpen Mower Blades: Detailed Answer
Sharpening a mower blade can easily be done at home. Even if you don’t have any experience working with mechanical devices, you can do it yourself. All you need is some basic equipment and a little bit of time to follow this 4-step process.
- Step 1: Accessing the Mower Blade
Lawn mower blades are located at the bottom of the mower, so you need to tilt the mower to access them. You can either lean it back on its handle or tilt it sideways.
Before you tilt the mower, disconnect the spark plugs on the front. For electric mowers, disconnect the battery. If you plan to lay a gas mower on its side, you need to either empty the gas out of the tank or put plastic wrap underneath the fuel tank’s cap to prevent spilling.
Whether the mower is on its handle or its side, secure it in place to keep it from falling on you as you remove and replace the blade. - Step 2: Removing the Blade
Most mower blades are secured in place with either one or two bolts. Choose a wrench that’s the appropriate size to remove the bolt(s). Once all bolts are removed, the blade should be easy to pull off the mower bottom.
It will be easier to turn the wrench if you can keep the mower blade from moving. Do this by wedging a piece of wood flat against the blade, or by holding the blade in place with a gloved hand.
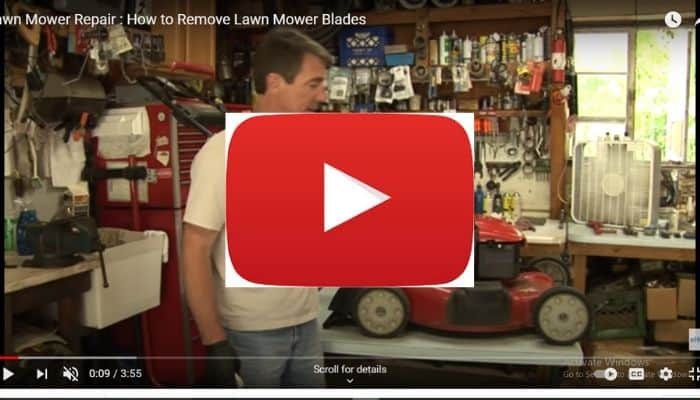
Tip: If a bolt is stuck on too tightly, spray it with a loosening agent and let it sit for a few minutes before trying to unscrew it again. Always use the appropriate wrench to avoid stripping a tight bolt. See a detailed blade removal here:
- Step 3: Sharpening and Balancing the Blade
Sharpening
Lawn mower blades can be sharpened by hand or with a number of different tools. If you’re using a metal file or a sharpening attachment for a handheld drill, you’ll need to start by securing the blade in place.
The safest way to secure the blade is with a vice grip. This will keep the blade from moving even when you’re applying pressure to sharpen it. Both sides of the blade should be visible.
With the blade secure, scrape the metal file against the blade at the same angle as you see on the edge of the dull blade. Mirror the angle as closely as you can to make it easier to sharpen. When you’re using a hand file, you should only be scraping with a downward motion, not up and down.
If you’re sharpening with a handheld drill attachment, place the sharpener on the blade with the guard edge facing the back of the blade. You should see the angled edge of the sharpening attachment gently resting against the angle of the blade. Turn on the drill and run it along the blade.
Another way to sharpen a blade is by using a handheld grinder, a table grinder, or any tools for sharpening other types of blades. Use whatever method is most convenient, as long as you sharpen the blade on both sides at the correct angle.
Balancing
When you think you’ve sharpened the blade well, you need to check the balance. As the blade spins on the mower, balance is important to keep it in place and prevent damage or injury.
During the process of sharpening, you’re removing a small layer of metal from the blade. Balancing ensures that you’ve removed the same amount from both sides. All you need to check the balance is either a cheap blade balancing tool or a nail on the wall.
Place the blade on the balancer or hang it on the nail using the hole where the bolt usually connects. A properly balanced blade should rest evenly on the balancer or hang evenly on the nail without leaning to one side more than the other.
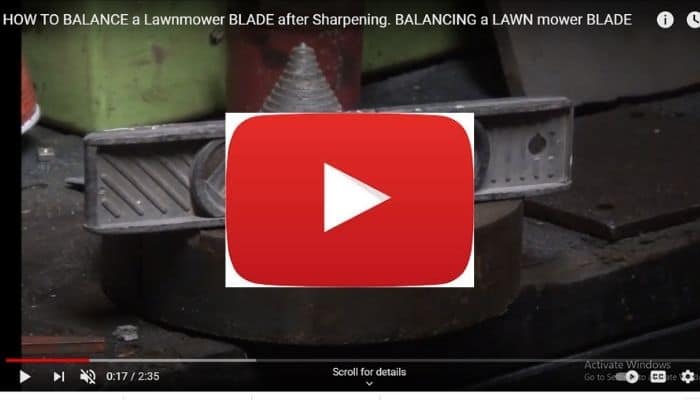
If the blade is balanced, proceed to step 4. If not, take the side that’s heavier and re-sharpen it. Check the balance again and repeat the process until it’s even. Here’s a simple guide to balancing blades:
- Step 4: Replacing and Testing
Now that your blade is sharp and balanced, you can return it to the mower and get it ready for use again. Simply bolt it back into place, checking to make sure you’ve put it back right-side up.
You can check how well you sharpened the blade by reconnecting the spark plugs or battery, filling up the gas (or removing the plastic wrap from the cap), and mowing a small section of grass. If the cuts on the top of the grass are even and not jagged, the blade is well sharpened.
Summary
Knowing how to sharpen your mower blade is a useful skill for keeping your mower in top shape. Going through this simple process at the start of every mowing season helps you get better results from your lawn mower.
Practice good mower maintenance by regularly removing the mower to sharpen and balance it. Have you ever sharpened your own mower blade? Do you need help to get started? Let us know in comments below!