

In Brief: How To TIG Weld With A Stick Welder
To TIG weld with a stick welder, you will need a TIG torch, welding cup, tungsten electrode, argon bottle, gas hose, and filler rod. Hook the gas up to the torch. Connect the TIG torch and electrode to the stick welding machine in a DCEN configuration. Use 15-20 CFH for your argon shielding and adjust as necessary.
If you need to do some TIG welding and only have a Stick Welder, you may have looked at buying a TIG welding machine and quickly decided it was too expensive to justify.
Fortunately, if you only need to do a bit of TIG welding or just want to try it out before committing, you can turn your stick welding machine into a useable TIG welding machine with just a little expense.
Follow these steps to TIG welder with a Stick welding machine:
How To TIG Weld With A Stick Welder
Time needed: 1 hour
What You Will Need –
There are some pieces of equipment you will need to use your stick welding machine for TIG welding. They are:
– A TIG torch.
– A TIG welding cup.
– A tungsten electrode.
– An Argon bottle.
– A gas hose.
– A TIG filler rod.
- Attach The Shielding Gas
TIG welding uses Argon as a shielding gas. Hook up the gas valve on the torch to the valve on the gas bottle, but do not start the flow yet.
It is best to get a TIG torch with a handle valve as you do not have the advanced controls that come with a dedicated TIG machine.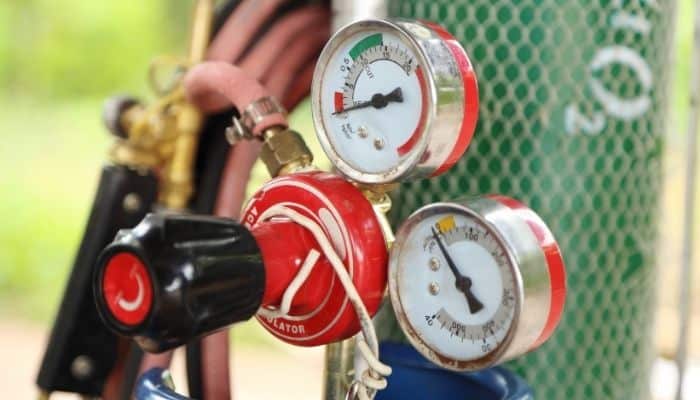
- Wire The Circuit
Attach the ground to the positive plug on your stick welding machine.
Attach the electrode lead to the negative plug on your stick welding machine.
Attach the electrode stick clamp to the TIG torch’s lead end. - Set Up The Gas Flow
Ensure that the valve on your torch is closed. Open the valve on the Argon bottle and increase the flow so it is between 15 and 20 cubic feet per hour (CFH).
You should not hear gas escaping. If you do, you may not have closed the valve correctly.
In either case, remember to open the valve once you are ready to weld. - Welding
To start welding, turn up the amps on your welding machine. Your electrode is now live, so be careful.
Open the gas valve on the torch.
You will need to scratch start the arc. To do that, touch the electrode to the metal and lightly scrape it a small amount across the surface. It should spark into life. Remove the contact a small amount to maintain the arc.
To kill the arc after you have finished welding, simply break the circuit by pulling the electrode away from the workpiece.
If you would like to see the welding in action, check out this video: https://youtu.be/RyZVkGdfkDU - Learn From Your Mistakes 🙂
As you are using a machine that is not intended for TIG welding, you may make some mistakes. Pay attention to what they are and make sure you learn from them.
For instance, you may blow straight through the workpiece. If you do, then you have set your amperage too high.
If you notice very bad welds that could be due to welding pool contamination, check your gas flow. If it is too low then it will not provide adequate protection. If it is too high, then it can disperse too quickly and allow oxygen onto the pool.
The more you do it, the more you will learn about TIG welding and how it differs from Stick welding.
But, if you find that you need to TIG weld regularly, there is no substitute for a dedicated TIG welding machine.
Summary
We hope that this guide has helped you to turn your stick welding machine into a TIG welder.
If you have any questions or comments about this guide or welding in general, please feel free to leave them in the comments section below.