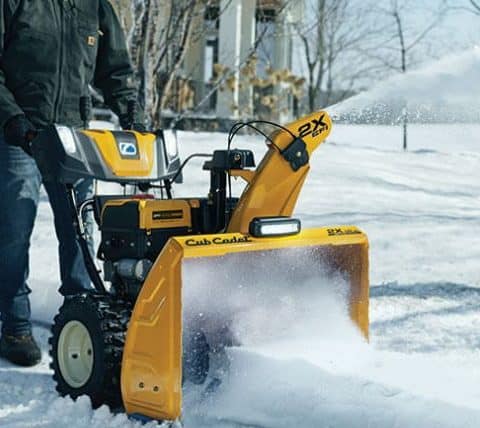
In Brief: How To Start A Cub Cadet Snow Blower
To start a cub cadet snow blower, firstly check the fuel and oil. Set the drive lever to neutral, engage the choke, and put the throttle to full. Open the fuel shutoff, then flick the rocker switch. Insert your safety key. Pump the primer bulb, then press the start button or pull the starter rope. Disengage the choke once warm.
Gas snow blowers can be more difficult to start than you might think, so now is a great time for you to learn about the correct starting procedure for your machine.

How To Start A Cub Cadet Snow Blower
Follow this step-by-step guide to start your cub cadet snowblower:
Materials
- Nothing special
Tools
- Nothing special
Instructions
- Step 1: Check Oil and Fuel
First, check your oil and fuel. Top them up if needed. If the fuel has sat for more than a month without a stabilizer, you should drain it and replace it. - Step 2: Put In Neutral
Before starting the snow blower, ensure that the drive control lever is in neutral. You will find this lever near the handles. - Step 3: Engage the Choke
Next, set the choke to full, or closed. You will find the choke near the primer bulb and throttle lever. - Step 4: Throttle Up
Now set the throttle to full. The throttle operates via a small lever near the choke and primer bulb. On most Cub Cadet models it will be labeled with a hare and a tortoise, in which case you should set it to the hare. - Step 5: Open the Fuel Shutoff
Open the fuel shutoff next, which allows fuel into the carburetor. The fuel shutoff is a dial with a fuel symbol and a crossed-out fuel symbol. Set it to the fuel symbol. - Step 6: Flip the Rocker Switch
The rocker or ignition switch is a simple switch with “run” and “stop”. Set it to run. - Step 7: Insert Safety Key
Near the primer bulb, choke, and the throttle is a slot for your safety key. The safety key is usually plastic and brightly colored. Insert the safety key into the slot and press it in fully. - Step 8: Prime
Locate the primer bulb, near the choke and throttle, and press it two or three times. This pumps some fuel into the carburetor to assist with starting. - Step 9: Pull Starter Rope or Press Button
If you have an electric starter on your model of snow blower, then you can plug the machine in, press the red button, and it will start.
If you do not, then you will need to pull the starter rope. The starter rope can be found on the right-hand side of most models. Pull hard and fast – it might take a couple of tries to turn the engine over. - Step 10: Disengage the Choke
Finally, disengage the choke by opening it. You should wait for a minute or so before doing this to allow the engine to warm through.
If you have had any trouble locating switches or parts of your Cub Cadet snowblower, you may find this video helpful:
Summary
We hope this guide has helped you to learn how to start your Cub Cadet snowblower.
Once you have committed the starting procedure to memory you will be able to start your snowblower quickly and easily whenever you need it.
If you have any questions or comments about this guide or snow blower starting procedures in general, please feel free to leave them in the comments section below.


